Reality strikes home when admit that there are days, sometimes in a row, when I do not touch my computer! 🙂 Seriously! So, how can I blog everyday if I am not on-line?
The truth is that I can not. So instead of beating myself up for instantly flunking my own challenge, I will rework it. 10 blogs in the next month. More realistic for someone who can spend more than one day at a time in the sewing room and loving every minute of it!
Enough of that – now on to the cuffs.
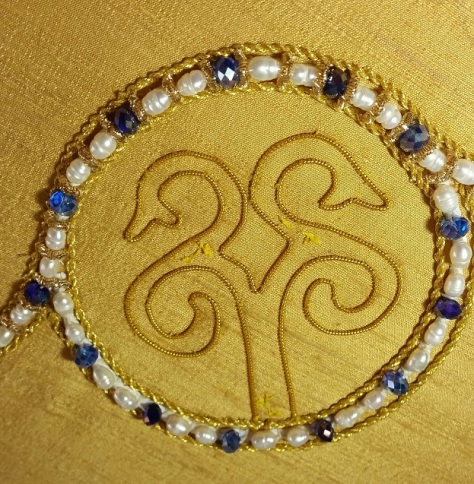
To recap, my next project is to use all of the skills I learned this last year in Ubrus to make a pair of 16th century Russian cuffs. Here’s one:
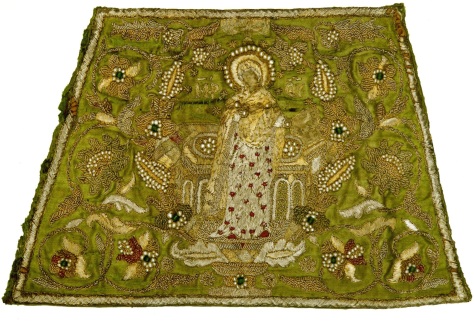
Pic: “Благовещение.” Иконография восточно-христианского искусства. Web. 13 Apr. 2017
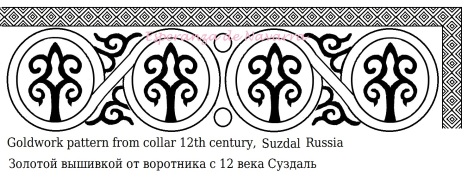
Last time, I worked on analyzing the design pattern. Jelena, my Ubrus art teacher, has spent the last few months teaching us to recognize and analyze the traditional scrollwork on period Russian art. We’ll see this pattern over and over again in Russian embroidery. The symmetry of the curls can change into different patterns, but once you start to look for them, seeing the scrolls helps to pick apart the repeats and re-create what, at first, looks really complicated.
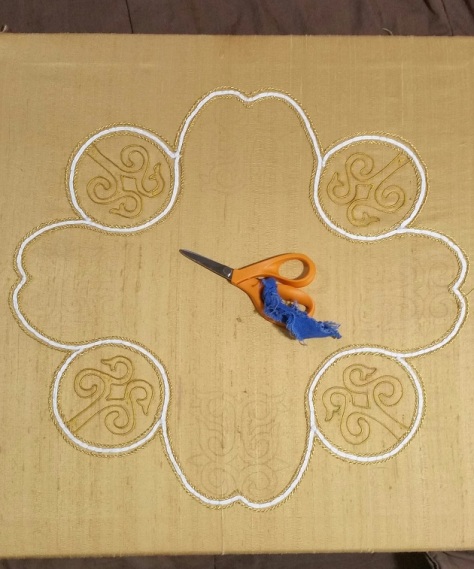
To begin to make your own transfer, you need to make some choices. My arms are smaller than whoever wore the original cuffs. Do I shrink the elements or cut some out? I like to keep the feel as close as I can. As odd as it sounds, taking elements out keeps my work feeling closer to the original than shrinking it. One big reason is that I can not shrink the material I’m going to use. The kanitel (gold and silver purl) only comes in so many sizes.
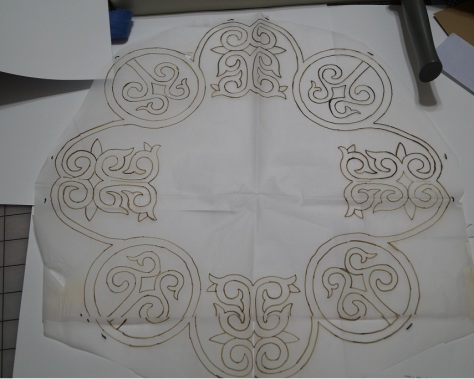
First thing I do is to sketch the figure out on my cuffs dimensions and get as much onto something that will fit me.

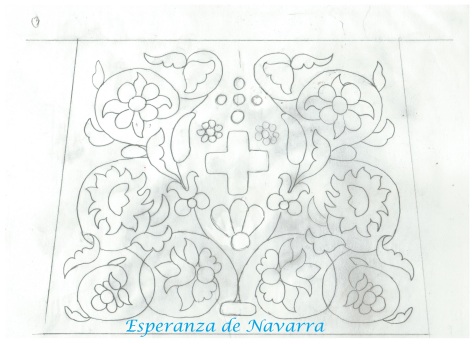
After drawing out the size of my cuffs, I roughly sketch the scrolls onto an actual sized mock-up. Looking at the original, both sides are mirror. That means I only have to really sketch out one side and then flip it.
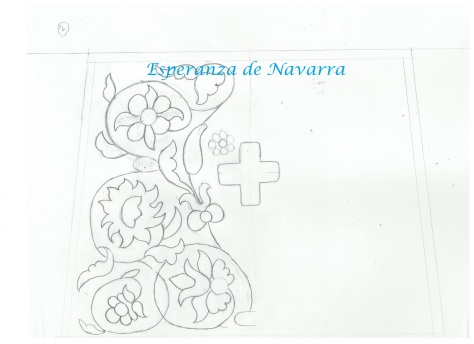
Taking out the middle figure gives me space to keep most of the flowers. Yay! It’s the flowers I really like. Once I get a good sketch for a transfer, I can use my cheats, aka tracing paper, to make the other side.
Please forgive the pencil smudges. 😉
I get asked a-lot if you can use my images for your work. Please do!! I want making art easier on all of us. If using something I sketched helps you, please do! The only thing I request (not demand) is that you share your work with me. That’s only because I love seeing what you guys are up to.
Sketching out my design was fun, but how will it looks when I start to fill it? Curiosity got the better of me, so I used some copying and pasting to give me glimpse of what it will look like.
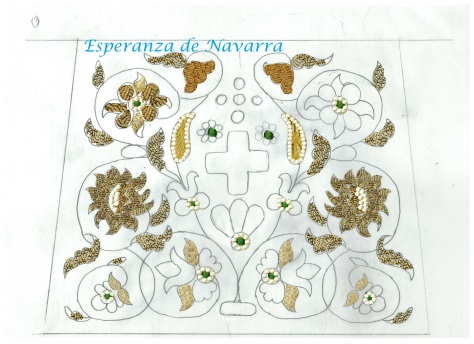
I spent more time than I want to admit pasting texture into my sketch, but I like what it’s going to look like!
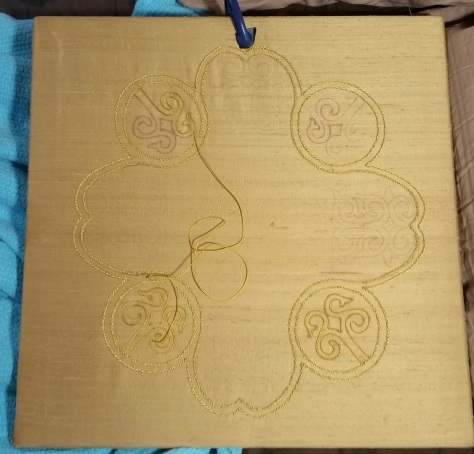
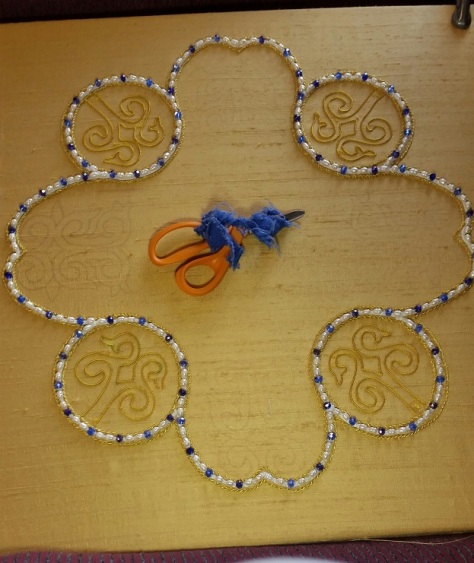
I’m trying hard not to spend more than 30 minutes or so on each blog. That way I don’t obsess over my writing and spend more time on the art. Today I want to transfer my patter to the green silk and pick through my supplies to see if I have enough. I may, if I’m ambitious, make my own green glass beads to use on this. A bonus is that torch-work makes my neck pain better.
TTFN!!!
Esperanza de Navarra